Mystery: The Rest of the Story
Art, multimedia / No Comments / August 1, 2014
Bottom Level Paint and Adhering
The next step was using some stencils and a tree stamp that I had, all with Pane’s Grey fluid acrylic. The “LUM” on the left side and the letters in the bottom lettering as well as the three trees were next. After that I tried two different adhesion methods, one for more texture with the pages rippling a bit ( I can’t help adding texture) and one for a more smooth traditional look. The first was a matte medium adhesion and pretty much drowning the paper or plastic sheets in it. Look at the upper left corner to see the area that I am talking about. Then I used traditional paper glue on the others to keep them flat. I had some issues keeping the edges down, but used basic glue under and on top of the edges to keep them down, or simply let them lift so I could play with that as time went on. After they dried I covered all the pieces that could be ruined with matte medium. Then I washed over everything with Titan Buff liquid.
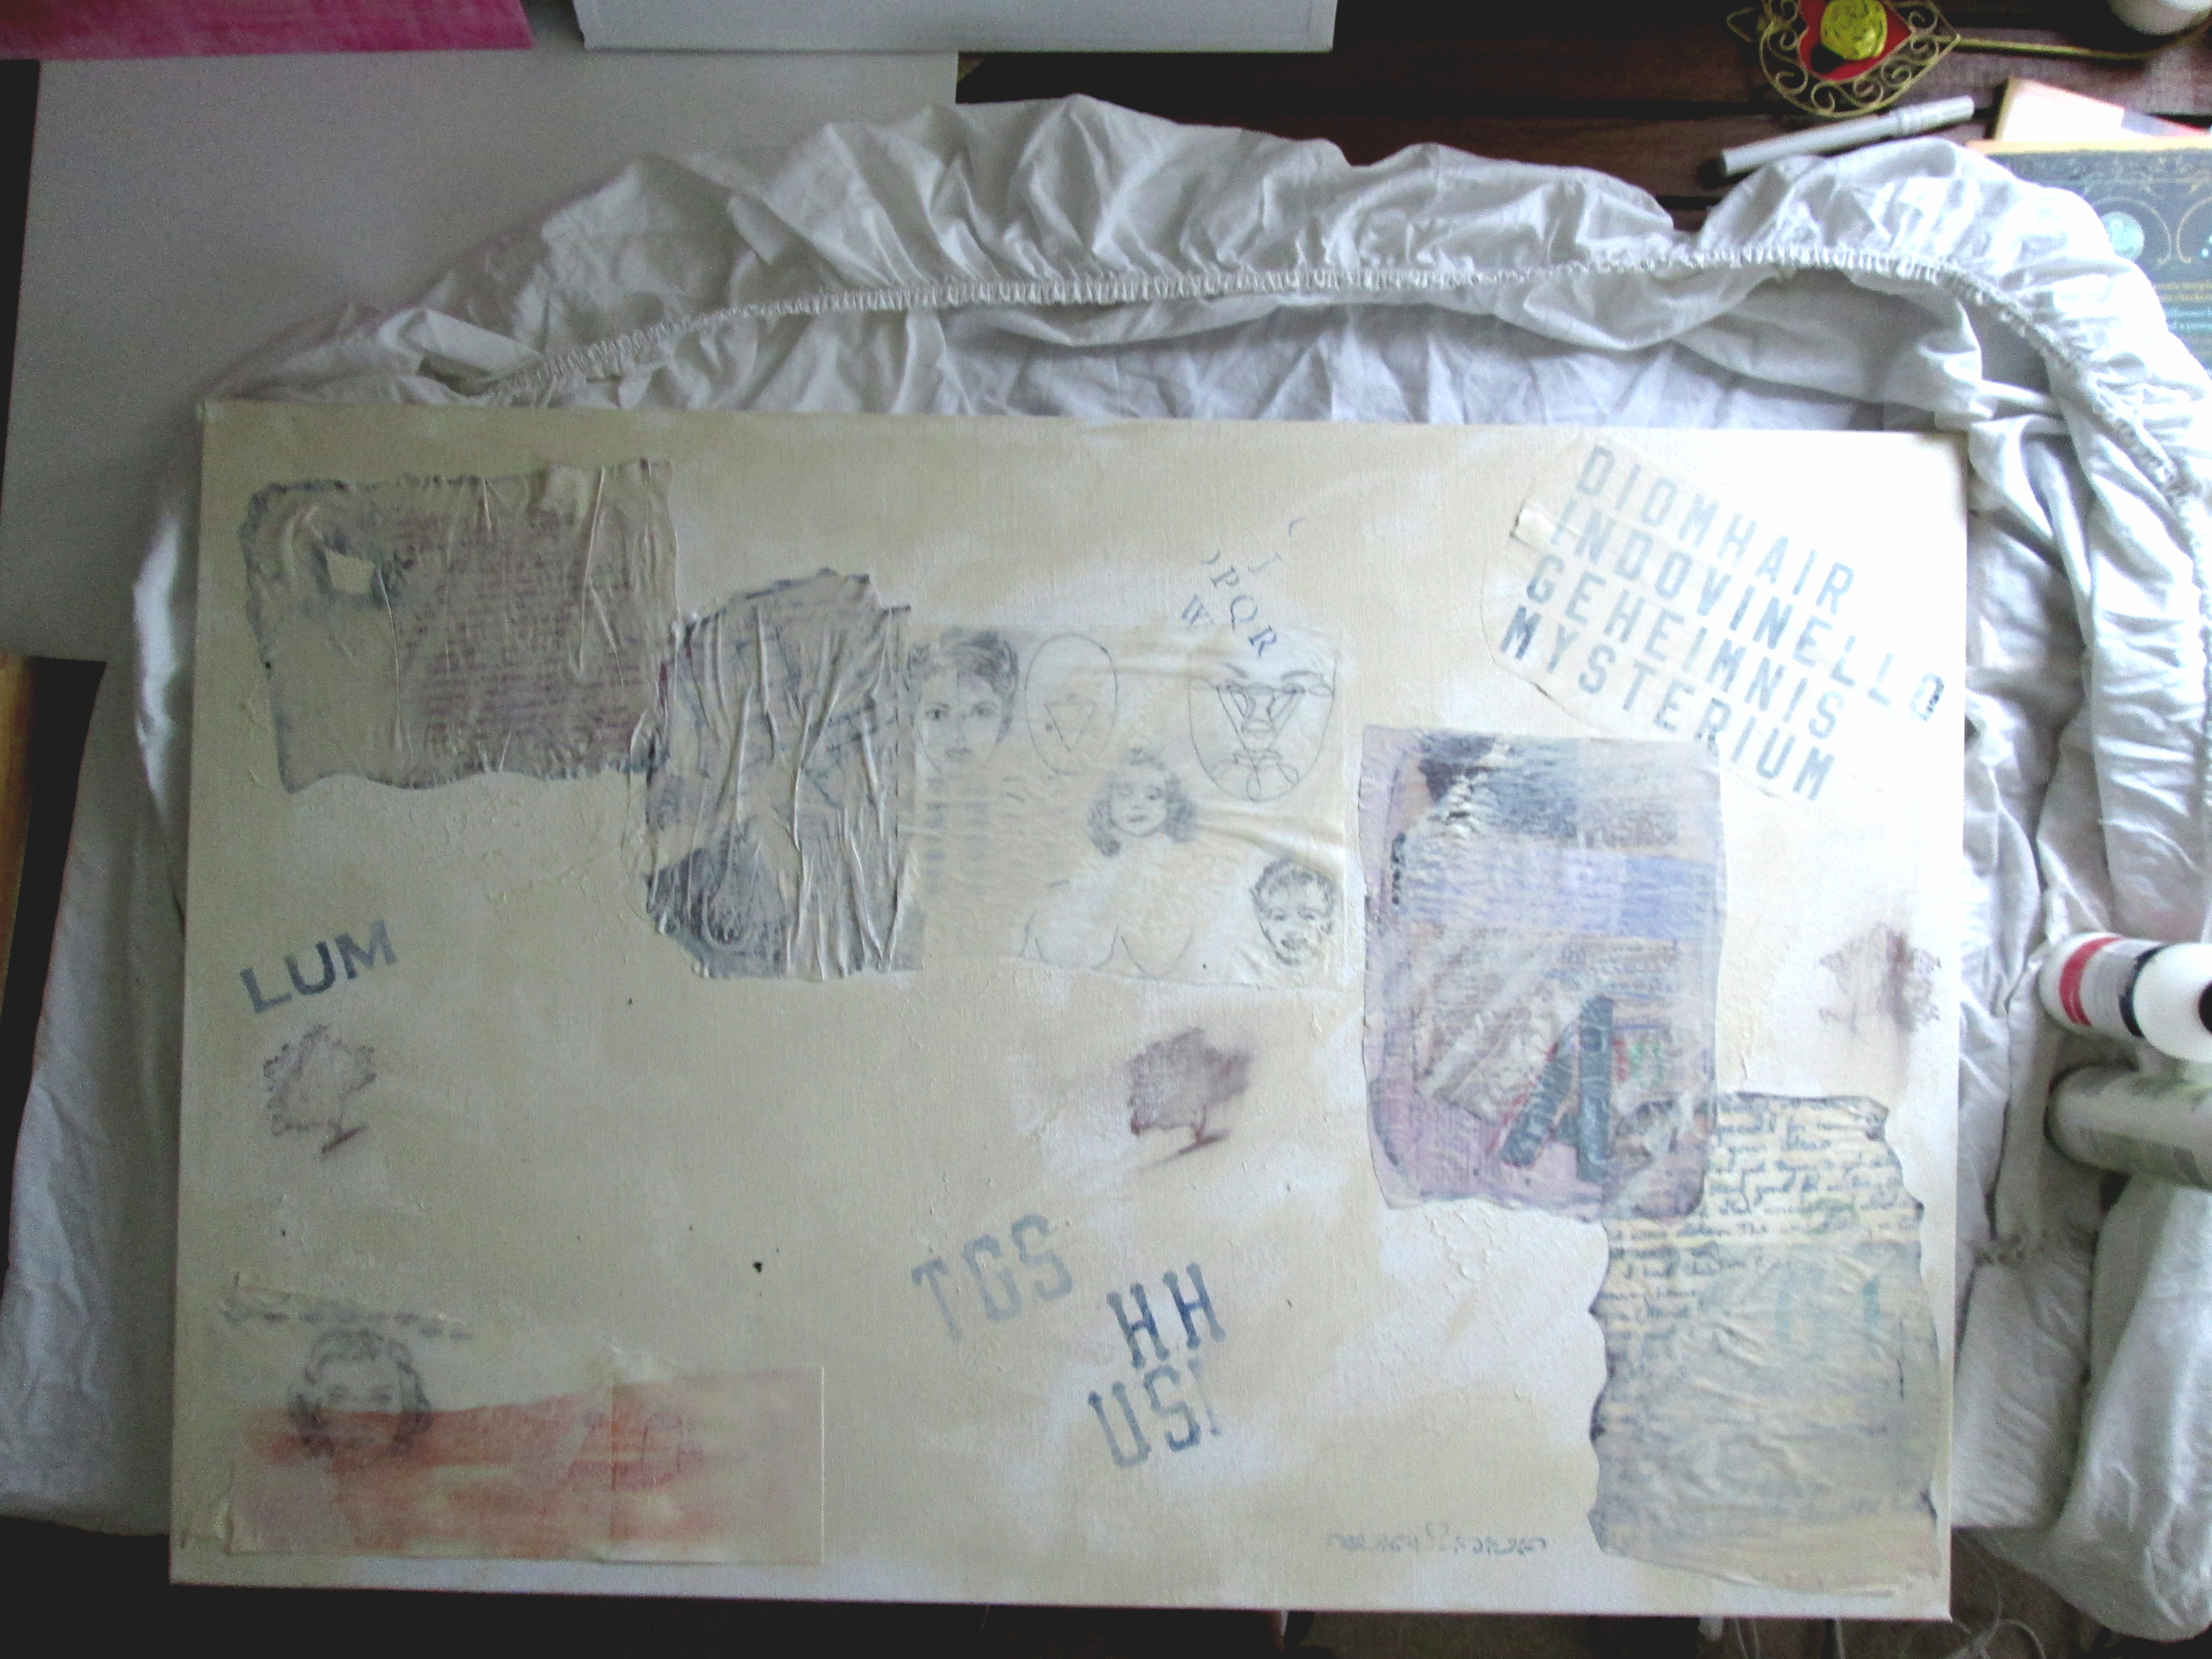
A Few Steps in One Pic
There could have been a pic in between the last one and this next one, I got too into the project and forgot that I was recording it for all of you out there. Never fear though I’ll quickly walk you through it all. The next thing I did was a glaze of Red Oxide liquid acrylic but made sure to only cover about 75% of the piece. I then attached the map and some other collage pieces I had held back until now (thesaurus page and Fleur-de-lis), cover the new additions with matte medium and then did another glaze of Red Oxide again only covering 75% of the piece. At this point in small sections you can still see through to the titan buff and in other they are covered with both oxides.

Final Steps
At this point I grab the Sharpies. It was actually a scary time in the project, I have never written on top of art I had spent hours creating and while I knew it led to the effect I wanted it was nerve racking to start. I used black, gold, silver and red and drew the eye in the upper left, the symbol in black on the right and many phrases all throughout the canvas. Once I was satisfied with that I used the Panes Grey to create a border around the canvas to accent and mask parts of the work. I created a Panes Grey thick acrylic with some Bone Black and Ultramarine Blue to be able to produce the scratch through swirl in the mid-upper right. Then I went back to the tree stamp and using the Panes Grey liquid again I stamped two more trees on the piece. Some of my Sharpie work was lost to the point of only being hinted at by a remaining part of a few letters, thus adding to the mystery. I recreated the partial oxide and Panes Grey washes on the edges to finish. I had already signed the piece on the map so at this point it was complete!

I hope you enjoyed this little walk through and remember, mysteries are sometimes more magical than their solutions!

